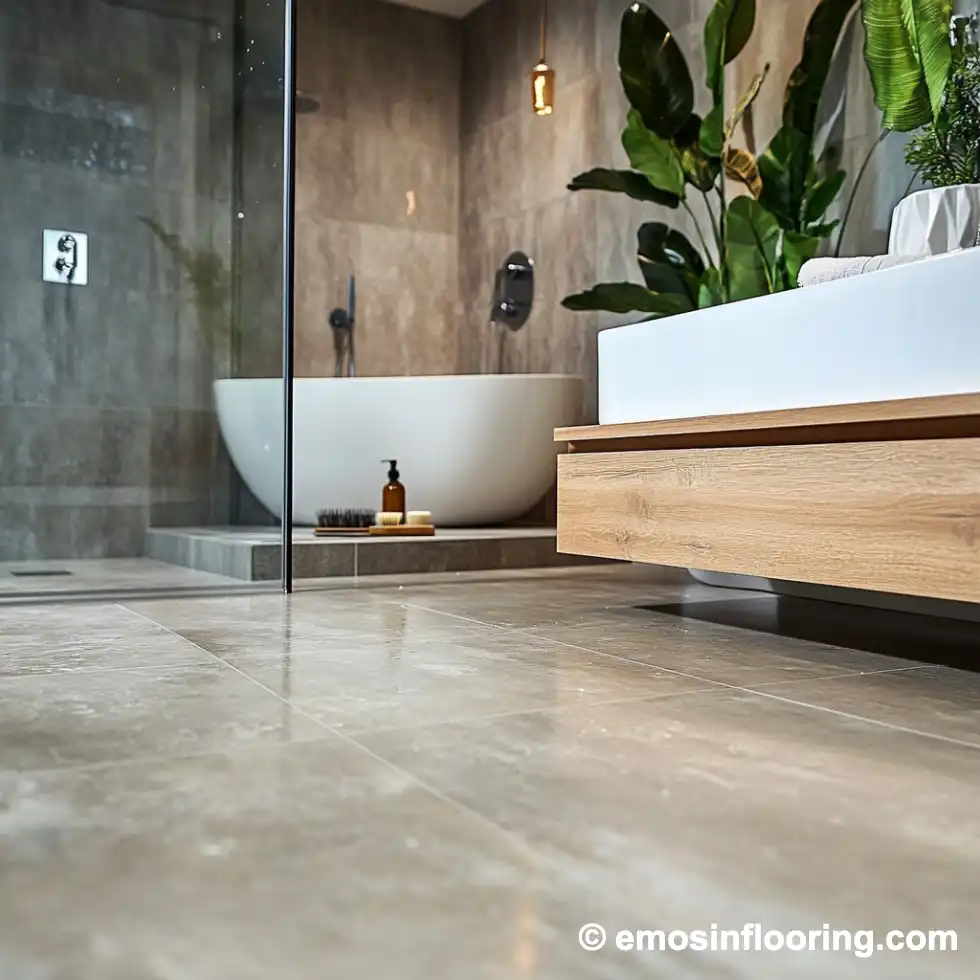
This guide provides comprehensive installation instructions for Emosin Flooring’s SPC (Stone Plastic Composite) and LVT (Luxury Vinyl Tile) flooring. Our high-quality flooring products are designed for durability, beauty, and easy installation. Following these guidelines will ensure a professional and long-lasting installation.
Tools Required:
• Tape Measure
• Utility Knife
• Jigsaw
• Tapping Block or Rubber Mallet
• Pull Bar
• ¼” Spacers
• T-Square
• Safety Glasses
• Broom or Vacuum
• Subfloor Repair Tools (if needed)
I. Pre-Installation Guidelines
1. Acclimatization:
• Before installation, allow the flooring to acclimate in the room where it will be installed for at least 48 hours. The room temperature should be between 18°C (65°F) and 29°C (85°F), and the relative humidity should be stable. This prevents potential expansion or contraction after installation.
2. Furniture Protection:
• Attach felt pads to furniture legs to prevent scratching. Heavy furniture should be equipped with large, non-staining surface protectors. Avoid using ball-type casters as they may damage the floor surface.
3. Sunlight Protection:
• Prolonged exposure to direct sunlight can lead to discoloration. Use window coverings such as blinds or curtains to prevent this. You may also consider applying protective window film to reduce UV exposure.
4. Subfloor Moisture:
• Ensure that the subfloor is dry and free from excessive moisture to avoid mold or moisture-related problems. For concrete subfloors, we recommend using a 6-mil polyfilm vapor barrier to prevent moisture from seeping into the flooring.
5. Inspection of Planks:
• Inspect all SPC or LVT planks prior to installation. Do not install any plank that appears to be damaged. Installers should blend planks from different boxes to ensure a uniform appearance across the floor.
II. Subfloor Preparation
Proper subfloor preparation is crucial for a successful installation. The subfloor must be clean, flat, dry, and structurally sound. Use the following guidelines:
1. Flatness Requirement:
• The subfloor should be flat within 3/16” over a 10-foot span or 1/8” over a 6-foot span. Repair any dips or uneven areas using a Portland-based leveling compound.
2. Over Existing Floors:
• SPC and LVT flooring can be installed over most hard surfaces, such as tile, wood, or concrete, as long as they are clean, flat, and dry. Do not install over carpet or other soft surfaces.
• Vinyl Floors: Avoid installing over cushioned vinyl flooring as it may compromise the strength of the SPC or LVT planks.
3. Radiant Heat Compatibility:
• SPC and LVT flooring are compatible with radiant heat systems. However, the maximum temperature should not exceed 29°C (85°F). It is recommended to use an in-floor temperature sensor to prevent overheating.
III. Installation Process
1. Floating Floor Installation:
• Emosin Flooring’s SPC and LVT products are designed for floating installations, meaning they are not glued or nailed to the subfloor. This allows the floor to expand and contract naturally.
• Leave an expansion gap of at least ¼ inch around the perimeter of the room and fixed objects like kitchen islands or columns. Use spacers to maintain this gap during installation.
2. Undercutting Door Jambs:
• Door jambs should be undercut so that the flooring can slide under the frame, allowing for a neat finish. Ensure that transition strips and molding do not fix the floor to the subfloor, as this would restrict movement.
3. Stagger the Planks:
• For a visually appealing installation, stagger the end joints of the planks by at least 6 inches. Avoid aligning seams across adjacent rows to create a more natural look.
4. Click-Lock System:
• Emosin SPC and LVT flooring use a click-lock system, which means the planks interlock without glue. Start from one corner of the room, working row by row. Align the tongue of one plank into the groove of another at an angle and gently tap them together using a tapping block or rubber mallet.
5. Finishing the Installation:
• Once all planks are installed, remove spacers and install baseboards or quarter rounds to cover the expansion gap, ensuring they are attached to the wall and not to the floor.
IV. Post-Installation Care
1. Cleaning and Maintenance:
• Regularly sweep or vacuum the floor to prevent dirt or debris from accumulating. Avoid using abrasive cleaners that can damage the surface.
• For wet cleaning, use a damp mop and a mild cleaning solution designed for SPC or LVT floors. Never saturate the floor with water as excess moisture may damage the subfloor.
2. Temperature and Humidity Control:
• Maintain a stable indoor environment with a temperature between 18°C (65°F) and 29°C (85°F) and relative humidity between 30% and 60%. Drastic temperature or humidity changes can affect the flooring’s performance.

By following this installation guide, you will ensure a professional, durable, and visually stunning result. Emosin Flooring’s SPC and LVT products are designed to provide long-lasting beauty and performance in both residential and commercial spaces. For any questions or further assistance, please contact Emosin Flooring’s customer service team at [email protected].


